
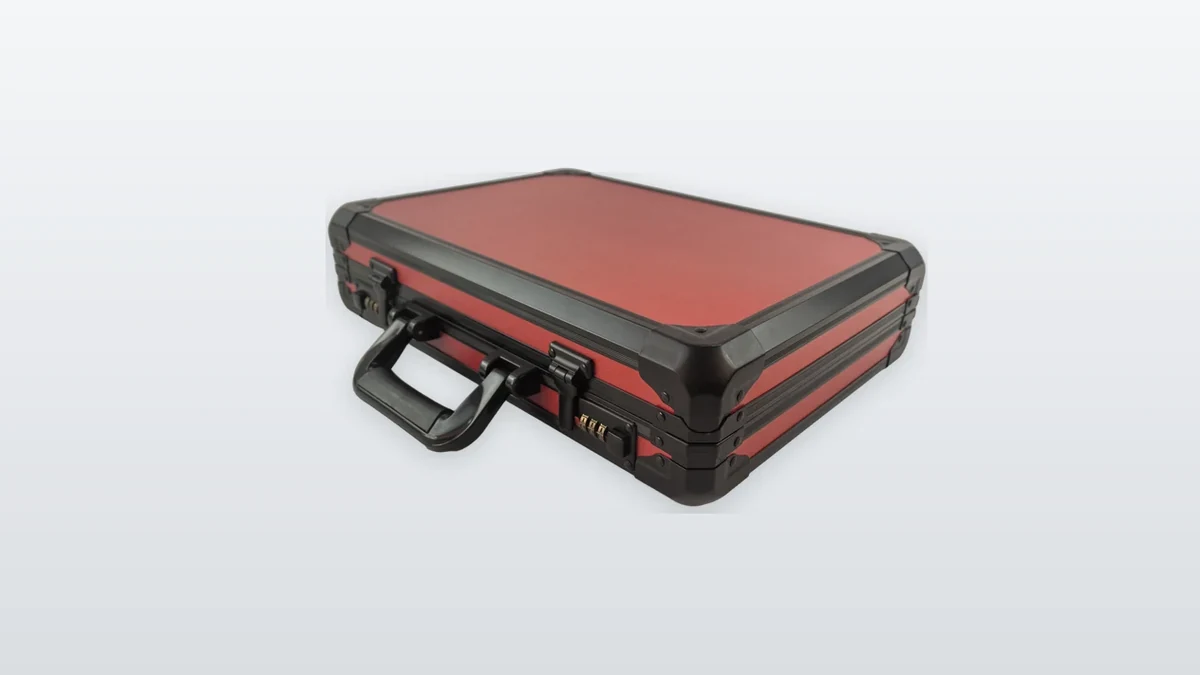
Two aluminum cases can look similar in a product photo but differ in hardware layout, closure alignment, and how well the packed case suits its handling route. This custom aluminum case hardware checklist gives buyers a practical way to record visible details, compare options, and prepare questions for an RFQ without treating appearance as proof of performance. It also separates visible observations from details that must be specified in a drawing, RFQ, or supplier response.
Start With the Usage Scenario
Start with the packed equipment and the route it will follow. The brief should describe what goes inside, how often the case moves, who handles it, and which spaces or surfaces affect loading and storage. These facts give each later hardware choice a specific use condition instead of a generic preference. Record unknowns rather than filling gaps with assumptions. If the packing configuration can change, identify the heaviest or most difficult version that the same case is expected to accommodate.
- Equipment: Record packed dimensions, total packed weight, center of gravity, fragile areas, access points, and accessories.
- Handling route: Note who lifts the case, carry distance, vehicle or cart use, stacking, and door or loading clearances.
- Frequency: Distinguish storage, occasional transport, and repeated field handling.
- Environment: Record dust, temperature changes, indoor or outdoor exposure, and surface-contact risks without inferring a protection rating.
What to Inspect on the Frame and External Hardware
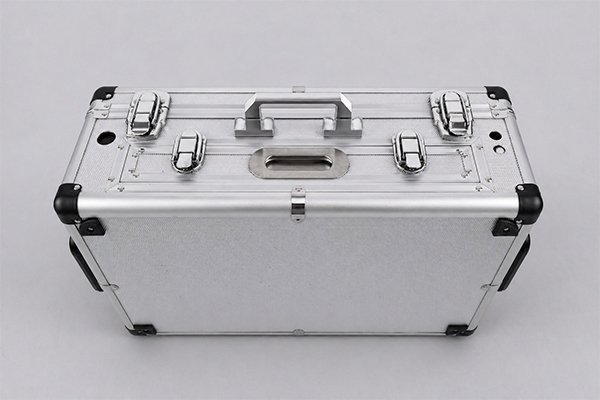
Inspect the assembled case as a system rather than selecting each visible part in isolation. For every component, separate what can be observed in a sample or marked photo from what still needs to be recorded in the project brief or confirmed with the supplier. Note whether an observation came from a photo, physical sample, drawing, or packed trial, because those sources do not provide the same evidence. Record any point that cannot yet be checked as an open RFQ question.
| Component | What to observe | What to record or confirm |
|---|---|---|
| Frame and panels | Straight joint lines, consistent panel seating, closure alignment, and obvious flex or twist | Packed equipment conditions and the proposed structural specification |
| Corners | Even seating, edge coverage, gaps, and interference with feet or profiles | Corner positions, quantity, and mounting arrangement |
| Handles | Grip clearance, folding movement, mounting position, and relation to packed balance | Handle quantity, location, and intended lifting method |
| Locks and latches | Alignment, closing force, operating clearance, and contact with nearby hardware | Lock type, maintenance or replacement requirement, and final position |
Hinges, Closure Edges, and Contact Surfaces
Follow the hinge line across the case and compare fastener spacing, lid travel, and the way the closure edges meet. Look for uneven contact, visible interference, or hardware that reduces operating clearance around the lid. Operate the lid through its intended opening range when a sample is available, and note where handles, locks, labels, cables, or work surfaces could restrict movement. Record whether the lid must stay open on its own or simply remain controlled by the user. If seals or edge materials are proposed, record their intended function and ask what specification applies to the exact configuration; do not infer a waterproof rating from appearance.
Common mistake
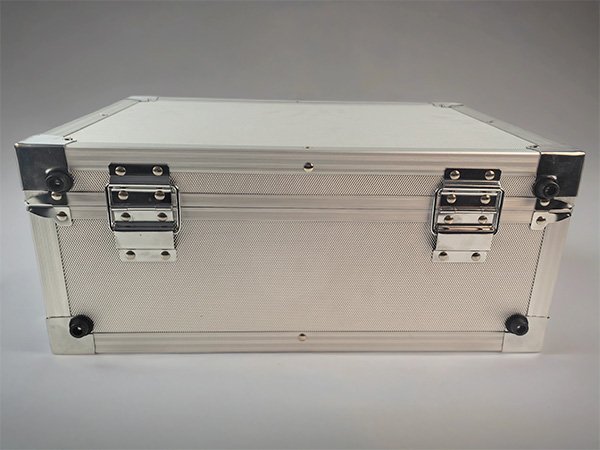
Selecting latches, hinges, seals, or corners from separate catalog photos can hide how those parts interact on the assembled case. Ask for the proposed hardware positions and closure details in one drawing or marked photo, then confirm clearances before approval.
Set Hardware Priorities for the Handling Plan
Hardware decisions are linked, so the useful question is not which individual part looks stronger or more elaborate. Define what matters most for the real handling route, then record where one choice changes space, access, balance, lid movement, stacking, or equipment removal. Rank each requirement as essential, preferred, or optional so that alternatives can be discussed without changing a critical use condition. Unknown equipment details should remain open questions, not assumed design inputs. The table turns those trade-offs into points that can be compared before approval.
| Decision | Prioritize | Trade-off to confirm |
|---|---|---|
| Handles | Balance, grip clearance, and lifting method | Exterior space and number of handling points |
| Locks/latches | Access, repeatable closing, and replacement needs | Operating force and available mounting space |
| Hinges | Lid travel, alignment, and open-lid control | Rear clearance and projection |
| Corners/feet | Edge contact, orientation, and stacking contact points | Added exterior footprint |
| Interior layout | Equipment restraint, separation, and fragile-area design targets | Removal access and accessory space |
RFQ Preparation
Use these four groups to keep technical inputs, handling conditions, hardware decisions, and approval evidence in one RFQ package. Attach one source of truth for equipment dimensions and one marked view for proposed hardware positions. Where a value is not yet known, identify the person or approval stage that will resolve it. This keeps open questions visible instead of allowing an early assumption to become an unreviewed requirement.
Equipment
- Dimensions or drawings
- Total packed weight and center of gravity
- Fragile areas, access points, and accessories
Handling
- Transport frequency and handling route
- Lifting, cart, vehicle, orientation, and stacking requirements
- Door, storage, and loading clearances
Hardware
- Handle locations
- Lock/latch type
- Hinge and lid-travel requirements
- Corner, foot, interior, label, and branding requirements
Approval
- Quantity and timing
- Marked drawing, photo, or sample required for review
- Tests or specifications that require verification
- Approval checkpoints and responsible reviewer
Discuss Your Case Requirements
Use the checklist to organize the equipment, handling, and hardware requirements that still need confirmation. When you are ready, you can plan a custom aluminum case for your equipment with CXCASE for the next stage of your sourcing project.
